
DIY Projects
Creating your own textured art at home is a fantastic way to explore your creativity and add a personal touch to your living space. With a few basic materials and some simple techniques, you can transform everyday items into stunning textured artworks. In this post, we’ll guide you through two DIY projects that will help you get started on your textured art journey.
Project 1 : Textured Canvas with Modeling Paste
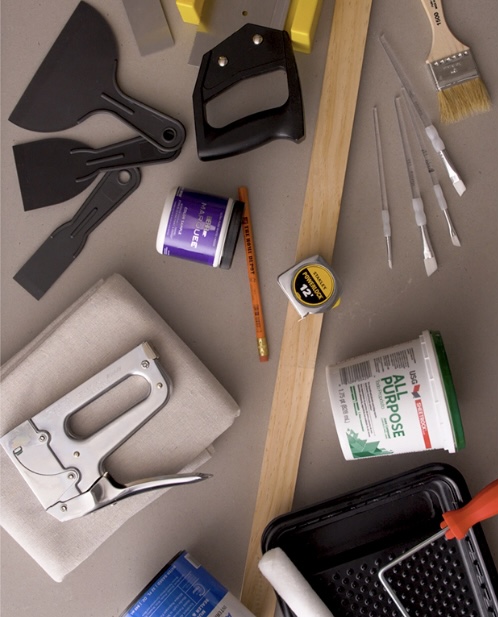
Materials needed to make your first textured wall art :
- Stretched canvas
- Modeling paste
- Palette knife or spatula
- Acrylic paint
- Brushes
Instructions:
- Prepare Your Canvas: Start with a clean, primed canvas. You can use any size you like, depending on your project.
- Apply Modeling Paste: Using a palette knife or spatula, apply modeling paste to the canvas. You can spread it smoothly or create patterns and textures by dragging the knife through the paste.
- Create Texture: Experiment with different tools to create unique textures. You can use the edge of the palette knife to create lines, a comb to make grooves, or a sponge for a more organic texture.
- Let It Dry: Allow the modeling paste to dry completely. This may take several hours or overnight, depending on the thickness of the paste.
- Paint Your Canvas: Once the paste is dry, paint over it with acrylic paint. You can use a single color for a minimalist look or multiple colors to highlight the texture. Experiment with different painting techniques to enhance the texture.
- Final Touches: Add any additional details or highlights with a smaller brush. Let the paint dry, and your textured canvas art is ready to display!
Project 2 : Textured Wall Art with Household Items
Materials needed:
- Canvas or wooden panel
- Household items (bubble wrap, aluminum foil, lace fabric)
- Gesso or texture medium
- Acrylic paint and brushes
Instructions:
- Prepare Your Base: Start with a canvas or a wooden panel.
- Create Texture: Use household items to create texture on the surface. For example, press bubble wrap into wet gesso to create a dotted texture, or crumple aluminum foil and adhere it to the canvas for a metallic look.
- Apply Gesso: Coat the textured surface with gesso or texture medium to secure the items in place and create a uniform base.
- Paint the Surface: Once the gesso is dry, paint over it with acrylic paint. Use different techniques to emphasize the textures, such as dry brushing to highlight raised areas.
- Final Details: Add any final touches or highlights with smaller brushes. Let the paint dry, and your unique textured wall art is complete!